Key takeaways
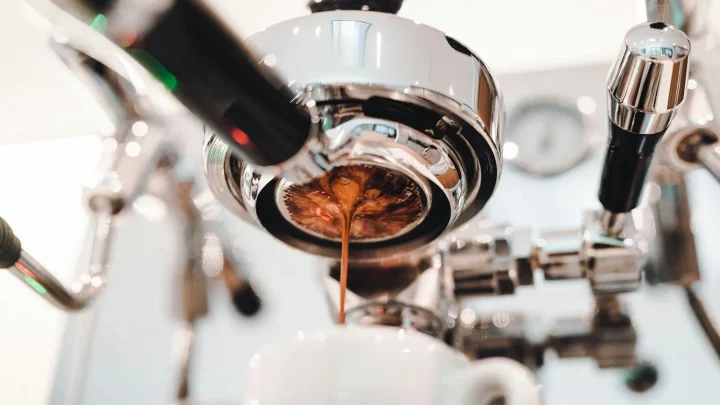
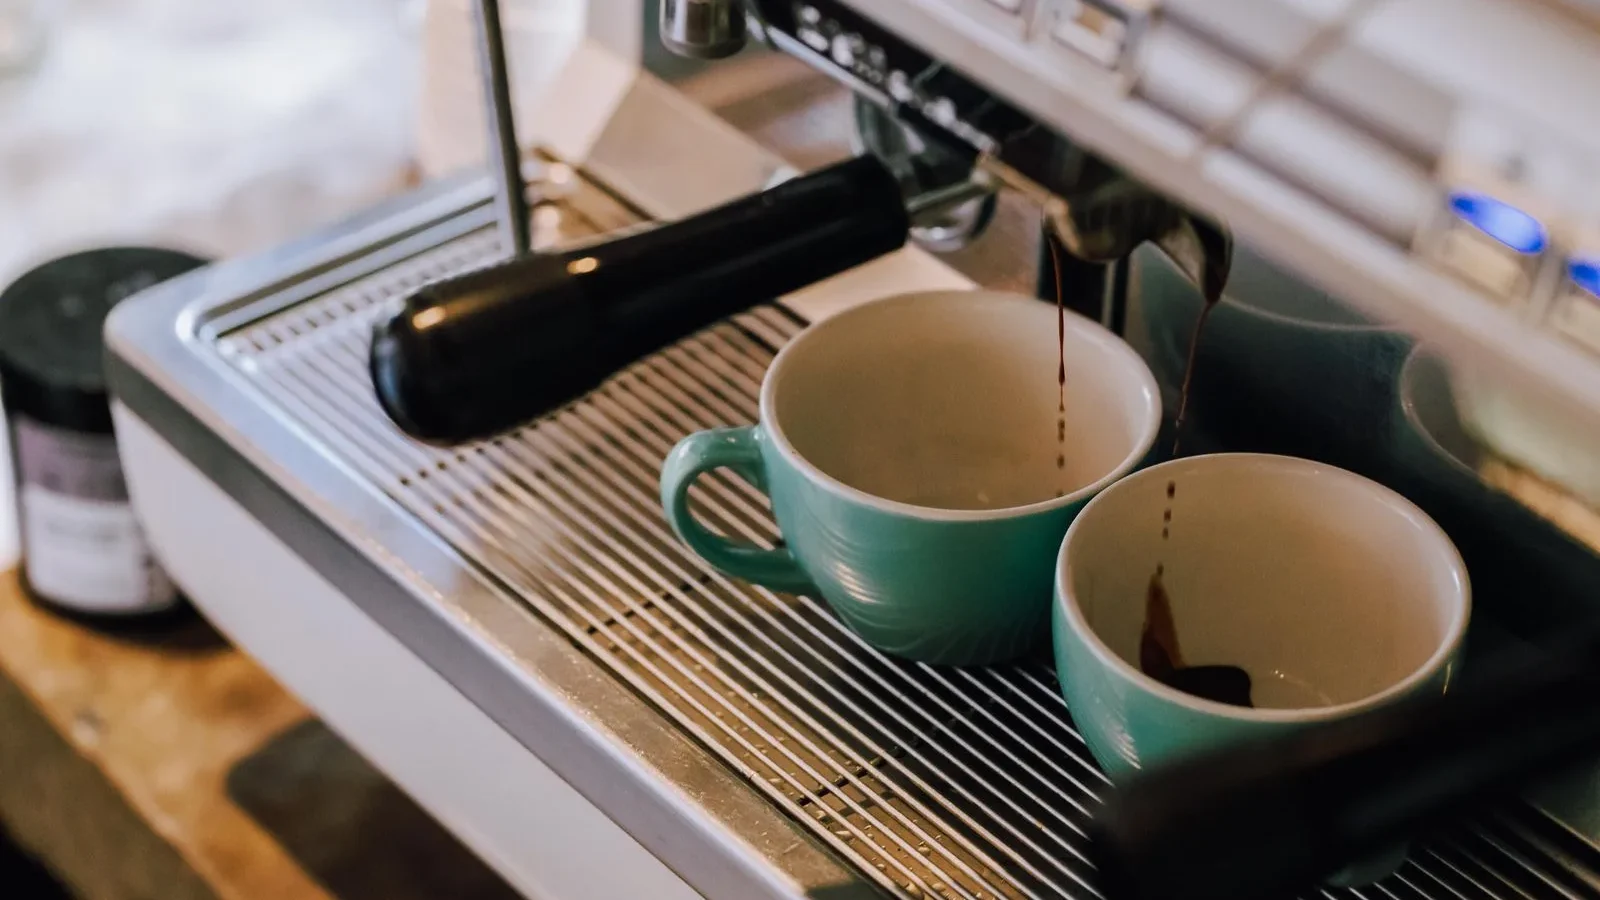
- Espresso is defined by pressure - roughly 9 bars forcing hot water through a compressed puck of fine grounds in 25 to 30 seconds.
- Your grinder matters more than your machine; a $150 burr grinder beats a $500 machine paired with a cheap blade grinder every time.
- Brew water sits around 200°F (93°C); milk steaming stops at 140–150°F (60–65°C), and past that it scalds.
- Dose, grind size and tamp control the shot - change one variable at a time when you dial in.
- Crema is a sign the puck did its job, not a measure of quality on its own.
The first espresso machine I ever took apart was a hand-me-down Gaggia Classic with a puck of ancient coffee cemented into the group head like concrete. The owner thought it was broken. It wasn’t – he just never understood what was happening inside it, so he never knew when something went wrong.
That’s the thing about espresso. It looks simple from the counter, but there are four or five forces fighting each other every time you press the button.
Once you can picture those forces, the whole ritual stops being mystery and starts being controllable. So before you buy a single accessory, let me walk you through what actually happens in that 30-second window.
What espresso actually is
Espresso isn’t a roast or a bean. It’s a method – hot water pushed through finely ground coffee under real pressure. That pressure is the whole game.
Drip coffee lets gravity pull water through a coarse bed over four or five minutes. Espresso forces water through a tightly packed puck in under half a minute, and that speed plus pressure pulls out oils and dissolved solids that gravity never touches.
The result is a concentrated 25 to 35 ml shot with a layer of foam on top. According to the Wikipedia entry on espresso, the drink traces back to early 20th-century Italy, and the core recipe hasn’t changed much: fine grind, high pressure, short extraction.
A “single” shot is usually a 7–9 g dose pulled to about 30 ml. A “double” – what most home machines and baskets are built around – runs 16–20 g pulled to 36–40 ml. Almost everyone brews doubles at home, even for one cup.
Pressure: the nine-bar number everyone quotes
You’ll hear “9 bars” thrown around constantly. One bar is roughly the air pressure at sea level, so nine bars is about nine times that – enough to push water through a puck that would otherwise stop it cold.
Why nine specifically? It’s the sweet spot the industry landed on decades ago. Too little pressure and water channels through the path of least resistance; too much and you get bitter, over-extracted sludge.
Most consumer machines advertise “15 bar” or “20 bar” pumps. That’s the pump’s maximum, not what hits your coffee – the actual brew pressure at the puck is closer to nine once flow and resistance settle in.
If you want the full breakdown of that number and why the marketing figure misleads people, I’ve written a separate piece on what 9 bars of pressure means in espresso.
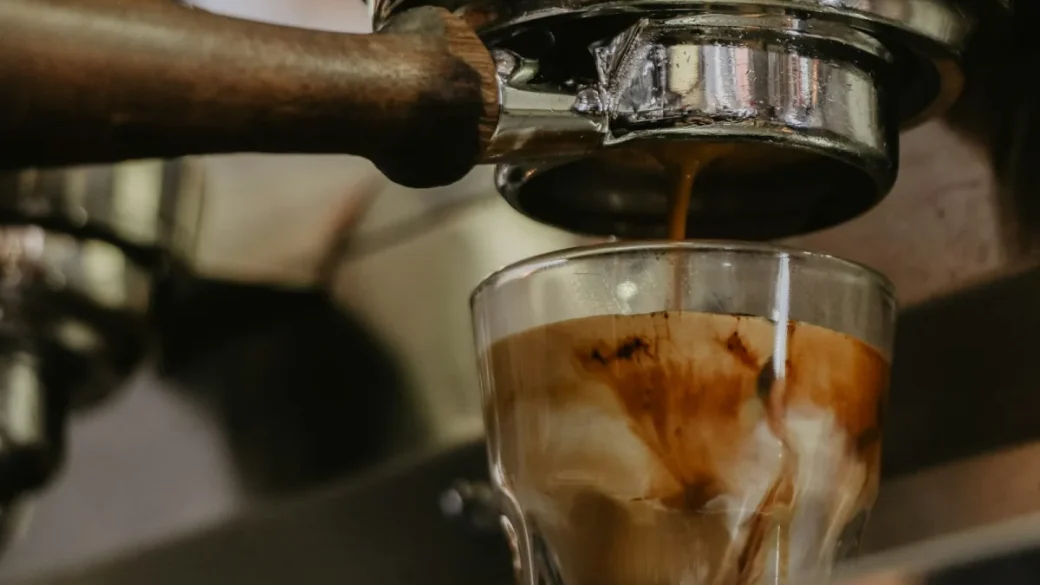
Heat: the part people underestimate
Brew water for espresso sits around 200°F (93°C) – just off the boil. A few degrees either way changes the taste noticeably. Cooler water under-extracts and tastes sour; hotter water scorches and tastes harsh.
This is where machine design starts to matter. The cheapest machines use a thermoblock – a small metal channel that heats water on demand. It’s fast but temperature swings a lot.
Step up and you get a single boiler or a heat exchanger, and at the top, dual boilers that hold brew and steam temperatures independently.
Why temperature stability is a repair issue too
A fault I see constantly is a scaled-up heating element. Hard-water customers who never descale end up with a thermoblock caked in mineral deposits, and the temperature drifts all over the place. A $12 bottle of descaler every couple of months prevents a $200 repair.
Never open a machine’s boiler or heating circuit while it’s plugged in or still hot. These systems hold pressurized water above boiling point, and a loosened fitting can spray scalding water. Unplug, let it cool for at least 30 minutes, and release any residual pressure before touching internals.
The grind – where most beginners actually lose
I’ll say it plainly, because it’s the single most useful thing in this piece.
Spend your money on the grinder before the machine. A great machine can’t fix a bad grind, but a good grind can rescue a mediocre machine.
Espresso needs a fine, consistent grind – think somewhere between table salt and powdered sugar. That consistency is why burr grinders beat blade grinders. Blades chop unevenly, producing dust and boulders in the same batch, and that wrecks extraction.
A decent entry-level burr grinder runs $120 to $180. It will outperform a $500 machine fed by a $30 blade grinder every single time.
Dialing in without going insane
Grind too coarse and water rushes through in 12 seconds – weak and sour. Grind too fine and it chokes, dripping out over 45 seconds – bitter and thin. You’re aiming for that 25 to 30 second window on a double.
Change one variable at a time. If a shot runs too fast, adjust grind finer by one small step and pull again – don’t also change your dose and tamp in the same round. You’ll never know what fixed it otherwise.
The parts that do the work
You don’t need to be a technician, but knowing the main components makes everything else click.
- Portafilter – the handled basket holder you lock into the machine
- Group head – where the portafilter locks in and hot water enters the puck
- Basket – the perforated metal cup holding your grounds
- Steam wand – the arm that froths and heats milk
- Pump – the vibratory or rotary unit that builds pressure
If you want each one explained in plain language with what typically fails on it, I keep a full rundown of espresso machine parts explained for beginners.
Brands cluster by price for a reason. Gaggia and Breville dominate the enthusiast entry range around $300 to $700, while De’Longhi covers the fully automatic bean-to-cup crowd who want a button, not a ritual.
Crema and milk – the two things beginners obsess over
That golden foam on top is crema. It forms when pressurized brewing whips carbon dioxide out of fresh coffee oils into a fine emulsion.
Fresh beans make thick crema; beans roasted three months ago make almost none. It’s a decent freshness signal, but it isn’t a quality score on its own – I’ve had gorgeous crema on genuinely bad-tasting shots. There’s more nuance in my write-up on what crema is and why it forms on espresso.

Steaming milk without scalding it
Milk for a latte or cappuccino gets steamed to 140–150°F (60–65°C). Past about 160°F it scalds, tastes eggy, and loses its natural sweetness. If you can’t hold the pitcher against your palm for a couple of seconds, it’s already too hot.
The technique is two stages: stretch (introduce air near the surface for a few seconds) then texture (submerge the wand tip to spin the milk into a glossy whirlpool). It takes practice, and every wand behaves a little differently.
| Number | What it controls | Beginner target |
|---|---|---|
| ~9 bars | Brew pressure at the puck | Set by the machine |
| 200°F / 93°C | Brew water temperature | Set by the machine |
| 25–30 sec | Shot extraction time | You control via grind |
| 36–40 ml | Double-shot volume | Your yield target |
| 140–150°F / 60–65°C | Steamed milk temperature | Stop steaming here |
Where to point yourself next
Here’s how I’d tell a friend to start. Buy the best burr grinder your budget allows, get fresh beans with a roast date on the bag, and accept that your first ten shots will be rough. Mine were.
Track one number at a time – start with extraction time, since it tells you the most. Once your shots land reliably in that 25 to 30 second window, the rest becomes fun instead of frustrating.
The machine isn’t a mystery box. It’s pressure, heat, and a puck of coffee doing exactly what physics tells them to. Understand the forces, and you’ll fix your own shots long before you ever need someone like me.
Every hands-on guide in this section, in one place:
- What Is Crema and Why It Forms on Espresso
- What 9 Bars of Pressure Means in Espresso
- Espresso Machine Parts Explained for Beginners
- Portafilter Basics: What It Is and How to Use It
- Pressurized vs Non-Pressurized Baskets
- What a Tamper Does and Why It Matters
- What a PID Does on an Espresso Machine
- Pre-Infusion Explained for New Espresso Users
- Espresso vs Coffee: What Actually Differs
- Espresso Terms Glossary Every Beginner Needs
- Setting Up Your First Espresso Machine
- Your First Espresso Shot: A Walkthrough
- Common Beginner Espresso Mistakes to Avoid
- Why Grind Size Matters in Espresso
Frequently asked questions
No. A solid $300 machine paired with a good burr grinder will outperform a $700 machine fed by a cheap blade grinder. The grinder controls consistency, and consistency is what makes or breaks a shot. Put your money there first.
Sour usually means under-extraction - your grind is too coarse or your water is too cool, so the shot runs too fast. Bitter usually means over-extraction - grind too fine, water too hot, or a shot that took too long. Adjust grind size first, one small step at a time, and aim for a 25 to 30 second pull.
That's the pump's maximum pressure rating, not what reaches your coffee. Real brew pressure at the puck settles around nine bars once water starts flowing through the grounds. A higher number on the marketing sticker doesn't make better espresso.
Aim for 140 to 150°F (60 to 65°C). Above roughly 160°F milk scalds, turns eggy, and loses its natural sweetness. A quick test: if you can't hold the steaming pitcher against your palm for a second or two, it's already too hot.
It's a sign the coffee was fresh and the puck extracted properly, but it isn't a quality score by itself. Fresh beans make thick crema; stale beans make almost none. You can have beautiful crema on a shot that tastes flat, so judge by flavor, not just foam.
With average tap water, every one to two months. Hard-water areas need it more often. Skipping descaling lets mineral deposits build up on the heating element, which causes temperature swings and eventually kills the machine - a $12 bottle of descaler prevents a much larger repair bill.