Key takeaways
- Aim for a level tamp above all else - a tilted puck channels no matter how hard you press.
- Roughly 20-30 lb of pressure is plenty; once the grounds compress, extra force does almost nothing.
- Use a tamper that matches your basket within ~0.5mm (58.4mm for most 58mm baskets) to seal the edges.
- Consistency beats strength - the same routine every time is what makes shots repeatable.
- If your wrist aches or shots stay uneven, a calibrated or spring-loaded tamper removes the guesswork for $30-70.
I’ve had customers wheel in a $1,400 machine convinced the pump is dying because their shots gush and taste like grapefruit water. Nine times out of ten the pump is fine. The puck is tilted three degrees and water is punching straight through one side.
Tamping gets treated like the boring step between grinding and pulling. It isn’t. It’s the last thing you do before pressurized water hits the coffee, and it decides whether that water sees an even wall of grounds or a shortcut.
So let’s talk about the three things that actually matter – pressure, level, and doing it the same way every single time – and leave the rest of the puck prep for another day.
Why level beats hard every time
Here’s the fault I see most: people obsess over how hard they press and completely ignore whether the puck is flat.
Water is lazy. It follows the path of least resistance. If one edge of your puck is even slightly lower – meaning more compressed on one side – water floods the loose side and barely touches the dense side. That’s channeling, and it’s the single biggest cause of shots that taste both sour and weak at once.
A level tamp at 15 pounds beats a crooked tamp at 40 every time.
The tell is easy to spot. Pull the portafilter after a shot and look at the spent puck. If there’s a pit, a crater, or a shiny hole on one side, water found a channel there.
How to actually get it level
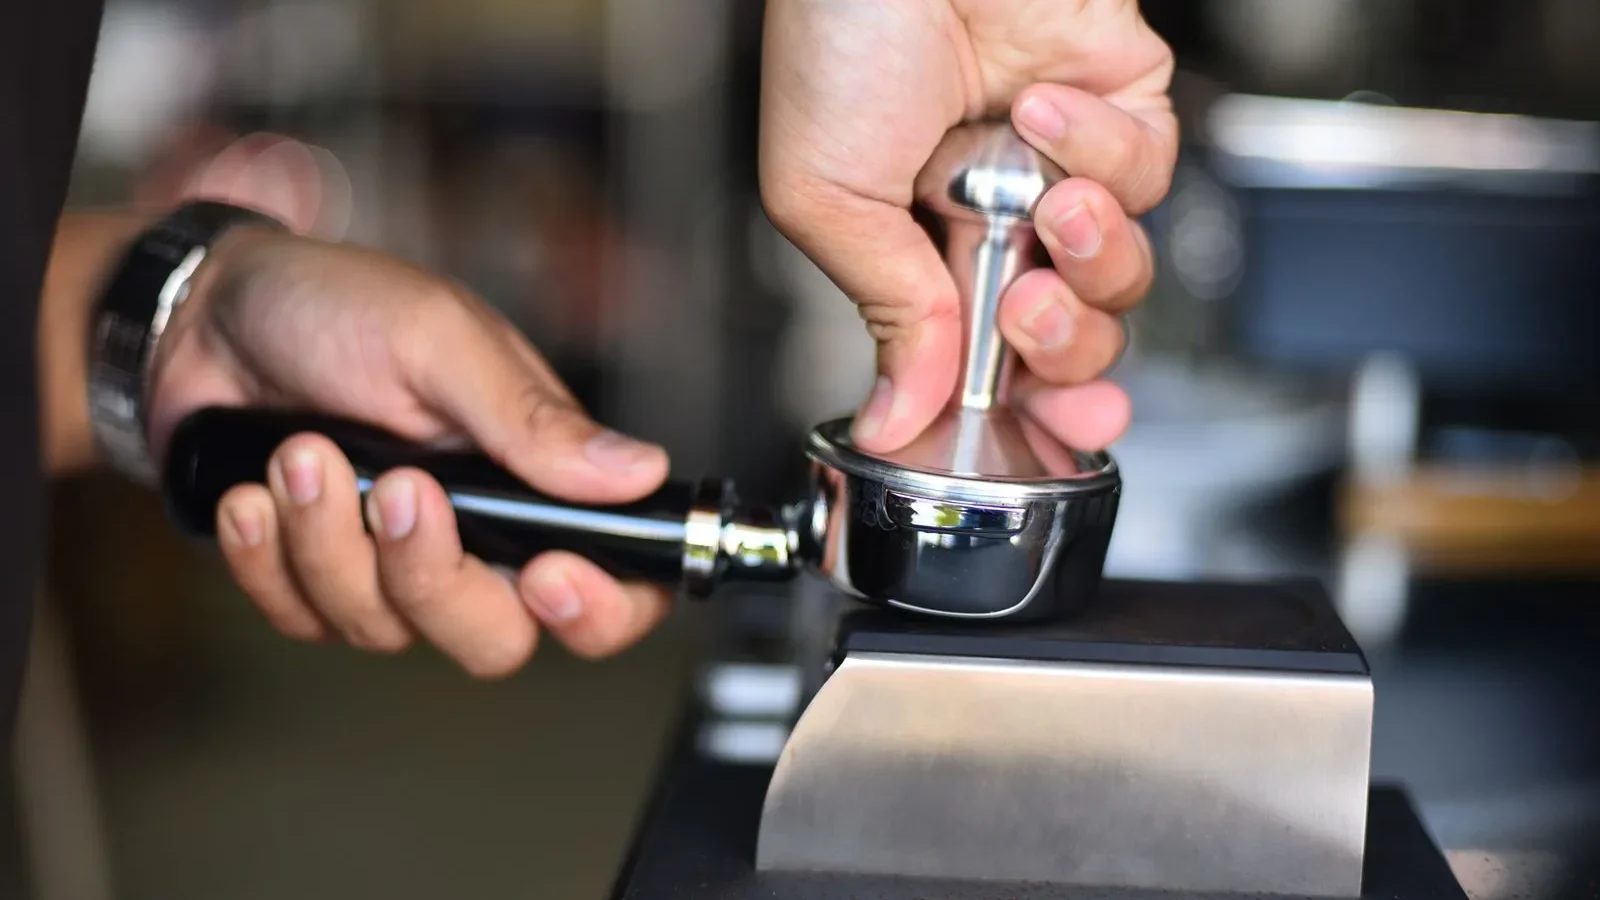
Keep your forearm directly over the tamper so you’re pushing straight down, not at an angle. The classic mistake is tamping with the portafilter hanging off the edge of the counter – your wrist naturally cocks and you tilt the tamp.
Set the portafilter on a mat, or better, a tamping stand. Stand up. Get your elbow above the basket. Push down through the tamper like you’re pressing a stamp, not screwing in a lightbulb.
After you tamp, do a gentle “polish” – a light quarter-turn with the tamper still seated. It smooths the surface and helps you feel any high spot before the shot ever runs.
How much pressure you actually need
The famous number is 30 pounds. It got repeated so many times people treat it like gospel. The truth is looser than that.
Ground coffee behaves like a granular solid. Once you compress it past a certain point, it simply stops compacting – you can lean your bodyweight on it and the puck density barely changes. That threshold lands somewhere around 20 to 30 pounds of force for a normal 18g dose in a 58mm basket.
Below roughly 15 pounds you can leave the puck too loose and get fast, gushing shots. Above 30 you’re just wearing out your wrist for no reward. The Specialty Coffee Association and most working baristas land in that same 20-30 range for a reason.
Want to feel what 30 pounds is? Put your tamper on a bathroom scale and press until it reads 30. Do it five times. Your arm will memorize the feel faster than any number ever will.
If your grind is dialed in, small pressure differences won’t wreck a shot. Grind size controls resistance far more than tamp pressure does. If you’re fighting your extraction with brute force, the real fix is usually your espresso grind size and how to get it just right, not your arm.
Getting the same tamp every single time
Consistency is the part nobody wants to hear about because it isn’t exciting. It’s also what turns espresso from a lottery into a repeatable process.
If you tamp at 25 pounds today and 40 tomorrow, you’ve changed a variable, and now you can’t tell whether that sour shot came from your grind, your dose, or your arm. Lock the tamp down and it stops being a suspect.
Here’s the routine I hand every customer who’s chasing consistency.
- Same tamper, same hand, every time – don’t switch grips shot to shot.
- Distribute the grounds level before you tamp so you’re not compressing a lopsided pile.
- Press straight down to a firm stop, not a bounce.
- Do one light polish turn, then lift straight up.
- Check the spent puck after a few shots to confirm even extraction.
Do those five things the same way and your shots start clustering instead of scattering. When you then tweak the grind, you’re actually reading the grind – not the noise from your tamp.
Matching the tamper to your basket
A mismatched tamper quietly sabotages people who otherwise do everything right.
Most home machines – Breville, Gaggia, De’Longhi and the rest – use a 58mm basket, but the base of a good tamper is usually 58.4mm or 58.5mm. That fraction matters. A 58.0mm base leaves a ring of untamped coffee around the edge, and that loose collar is a highway for water.
The cheap tamper that ships in the box is often 53mm or a vague “51mm” plastic thing that doesn’t seal any standard basket well. Upgrading is one of the best $25 you can spend on espresso.
| Tamper type | Typical price | Best for |
|---|---|---|
| Flat stainless, 58.4mm | $25-45 | Most home setups; the reliable default |
| Calibrated / click tamper | $30-50 | Learning consistent pressure by feel |
| Spring-loaded (fixed force) | $40-70 | Removing pressure guesswork entirely |
| Convex base, 58.4mm | $30-55 | Fighting edge channeling specifically |
When a calibrated tamper earns its keep
If your wrist aches, or your shots stay uneven no matter what, a calibrated tamper clicks at a set pressure – usually around 30 pounds. You press until it clicks and you’re done.
It won’t fix a tilted tamp; you still have to keep it level. But it removes one whole variable, and for a lot of home baristas that’s the difference between guessing and knowing.
Reading the shot to grade your tamp
Your espresso will tell you exactly how the tamp went if you watch the pour.
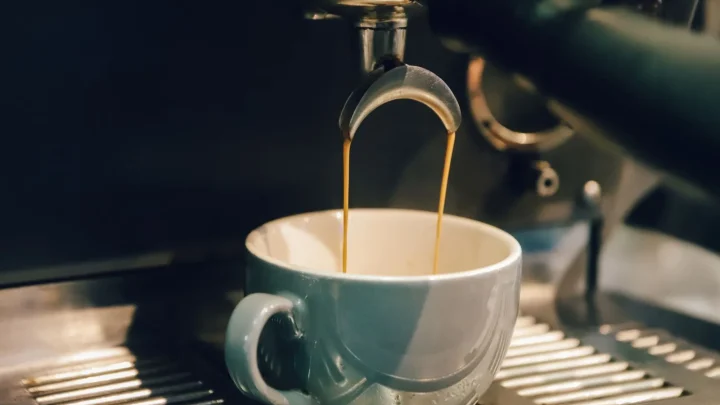
A good tamp gives you a shot that starts as a slow, even drip, then flows into a steady golden-brown stream from both spouts at the same rate. If one spout runs pale and fast while the other dribbles dark, you’ve got a channel – almost always a level problem.
Blonding too early with a thin, sour result often traces back to a loose or tilted tamp letting water rush through. That’s the same failure pattern behind a lot of sour espresso shots and their causes and cures. On the flip side, an over-packed or over-compressed puck can choke the flow and push you toward bitter, over-extracted espresso you’ll need to tame.
Never force a portafilter that won’t seat because you tamped too high a dose. Cramming it in can crack the group gasket or, on cheaper machines, stress the portafilter lugs. If it won’t lock cleanly, dump the puck and re-dose.
For the full sequence around this step – dose, distribution, tamp, and pull – the walkthrough on how to pull the perfect espresso shot ties it all together. Espresso as a method has been refined for over a century, and the physics of forcing near-boiling water through a compacted puck hasn’t changed much; you can read the background over on Wikipedia’s espresso entry.
The habit that fixes most tamping problems
If you take one thing to the machine tomorrow, make it this: level first, pressure second, and the exact same move every time.
Most of the “my machine is broken” calls I take are really tamping calls in disguise. A three-degree tilt, a 53mm tamper rattling around in a 58mm basket, or a barista pressing hard one day and soft the next – none of that shows up on a repair invoice, but all of it shows up in the cup.
Spend a week tamping the same way and watching your spent pucks. You’ll learn more about your own technique in seven days of paying attention than in a year of buying gear.
Frequently asked questions
Around 20 to 30 pounds of pressure is plenty for a standard dose in a 58mm basket. Ground coffee stops compacting much past that point, so pressing harder mostly tires your wrist without changing the puck. Test the feel by pressing a tamper on a bathroom scale a few times until 30 pounds becomes muscle memory.
No, not really. Once the puck is compressed past its threshold, extra force barely changes density or flavor. Strength and extraction are controlled far more by your grind size, dose, and brew ratio than by how hard you lean on the tamper.
Almost always because the tamp is tilted, not because it's too soft. A puck that's even slightly higher on one side lets water rush through the loose side and channel. Keep your forearm directly above the tamper, press straight down, and check the spent puck for a pit or hole that reveals where water broke through.
A light quarter-turn polish is optional but helpful. It smooths the puck surface and lets you feel any high spot before you pull the shot. It won't fix a genuinely tilted tamp, so treat it as a finishing touch rather than a correction.
For many home baristas, yes. A calibrated tamper clicks at a set pressure, usually near 30 pounds, so you stop guessing whether you pressed the same each time. It removes one variable for $30 to $70, though you still have to keep the tamp level yourself.
Look for a 58.4mm or 58.5mm base, not a flat 58.0mm. That slightly larger base seals the coffee right to the edge of the basket, closing off the gap where water would otherwise channel. The undersized plastic tamper included with most machines is one of the most common hidden causes of uneven shots.