Key takeaways
- Roughly 70% of the machines that land on my bench need a gasket, seal, or shower screen - parts that cost $6 to $30, not a new machine.
- Buy a $12 set of torx and hex bits and a pin spanner before your first repair; the wrong screwdriver strips more heads than anything else.
- Descale every 2 to 3 months on hard water and you'll dodge the single most expensive failure: a scaled-up heating element or boiler.
- Anything touching household mains wiring, a pressurized boiler, or the control board is where I draw the line for DIY.
Last winter a customer brought me a four-year-old Gaggia Classic that “just died.” No lights, no pump, nothing. He’d already priced a replacement machine at $450 and made peace with buying it.
The fix was a $9 thermal fuse and about 25 minutes with a screwdriver.
That gap – between what a repair actually costs and what people assume – is why I wanted a single page that ties together every part-swap job I write about. Think of this as the map. From here you can branch off to the specific walkthroughs, but first let’s sort out what breaks, what it costs, and where the DIY line sits.
The parts that fail most, and why
Home machines aren’t mysterious. The same handful of components wear out on nearly every brand, from a $180 De’Longhi to a $1,400 dual-boiler.
An espresso machine forces water at around 9 bar through a compacted puck at roughly 200°F. Rubber, screens, and seals live a hard life under that heat and pressure, so they go first.
| Part | Typical price (USD) | Job difficulty | How often it fails |
|---|---|---|---|
| Group head gasket | $6–$14 | Easy | Every 12–18 months |
| Shower screen | $8–$20 | Easy | Every 1–2 years |
| O-rings and seals | $5–$25 (kit) | Easy–moderate | As leaks appear |
| Portafilter basket | $10–$30 | Trivial | When it clogs or dents |
| Steam wand valve | $15–$40 | Moderate | 3–5 years |
| Solenoid valve | $25–$60 | Moderate–hard | 4–6 years |
| Heating element / boiler | $40–$180 | Hard | Rare, usually scale-driven |
If your machine is pulling weak, sour shots or dripping from the group when it shouldn’t, the culprit is almost always in the top three rows. Those are the jobs I’d hand to any careful home owner.
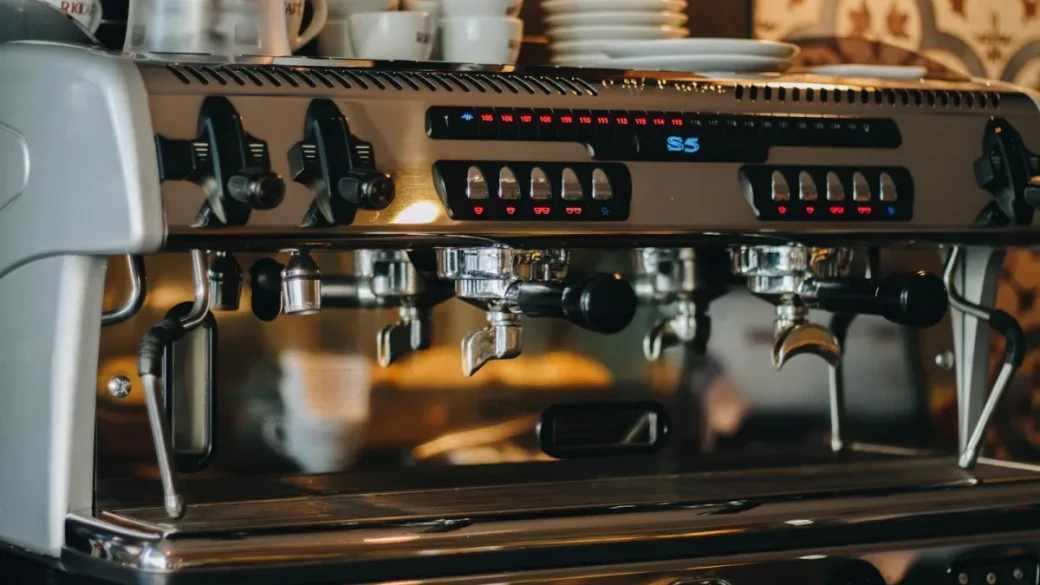
The tool kit you actually need
You don’t need a workshop. The first time I opened a home machine on someone’s kitchen table, I did it with maybe six tools, and I still carry most of them.
Skip the “essential espresso repair kit” listings on marketplace sites – half the contents are filler. Here’s what earns its place.
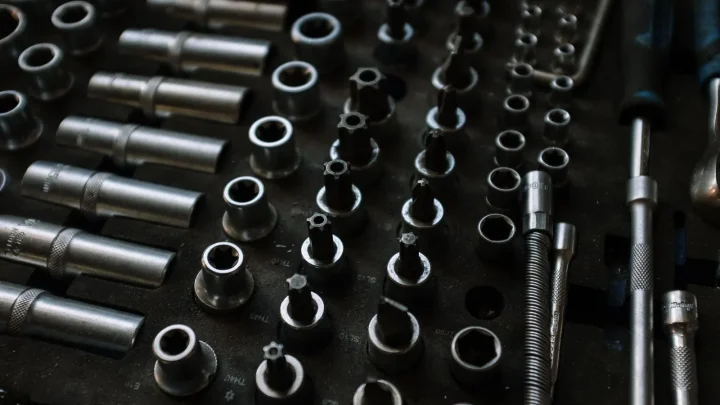
- A T10, T15, and T20 torx bit set – most machines use torx, not flathead ($12 for a full driver set)
- 2mm to 6mm hex keys for group bolts
- A pin spanner or 8mm nut driver for shower screen holders
- Needle-nose pliers and a plastic pry tool to lift old gaskets without gouging
- A digital multimeter ($20–$30) for testing fuses, elements, and switches
- Food-safe silicone grease for reseating O-rings
- Fresh descaling solution or citric acid
The single most common way people ruin a repair is using a too-small screwdriver and stripping the torx head. Buy the $12 bit set first. A stripped bolt turns a 20-minute job into a drill-and-extract nightmare.
Start with the gasket, screen, and seals
Ninety percent of home repairs I see come down to three wear items. Master these and you’ve handled most of what a machine will ever throw at you.
Group head gasket
When the portafilter starts creeping past the 6-o’clock position to lock in, or you get a thin spray of water around the rim mid-shot, the gasket has hardened. It’s an 8mm-thick rubber ring that costs under $14. My full walkthrough on how to replace a group head gasket at home covers the prying-and-seating trick that keeps you from scratching the group.
Shower screen
This is the perforated disc your water passes through before hitting the puck. Clog it with old oils and you get channeling and bitter shots. It usually backs out with a single central screw – see how to replace an espresso shower screen for the exact removal sequence and what a healthy spray pattern looks like.
O-rings and seals
Any drip that isn’t from the group is probably an O-ring – the steam wand, the water tank connector, the boiler union. A $15 assorted kit usually has every size you’ll ever need. I walk through sizing and reseating in replacing O-rings and seals in your machine.
If it leaks, it’s a seal until proven otherwise. Chase the cheap rubber before you suspect anything expensive.
Descaling: the repair that prevents repairs
More machines die from scale than from anything mechanical. Hard water leaves calcium inside the boiler and flow lines, and over a couple of years it insulates the heating element until it burns out.
On typical city water, descale every 2 to 3 months. On well water or anywhere the kettle furs up fast, make it monthly.
A boiler or heating-element replacement runs $40–$180 in parts plus real labor if you farm it out. A bottle of descaler is about $10. The Specialty Coffee Association pegs ideal brew water hardness low for a reason – soft water genuinely extends machine life.
If your machine already heats slowly or throws a temperature error, run two back-to-back descale cycles before assuming the element is dead. I’ve revived plenty that owners had written off.
Where I draw the DIY line
I love seeing people fix their own gear. I also see the results when someone opens the wrong thing.
There are three areas where I tell home owners to stop and hand it over.
Always unplug the machine and let the boiler cool for at least 30 minutes before opening the case. A hot boiler holds pressurized water and steam that can scald badly. If a repair involves live mains wiring, a pressure-vessel boiler, or the control board, that’s professional territory – the risk isn’t worth a saved service fee.
Mains wiring and thermal fuses
Testing a fuse with a multimeter is fine. Rewiring anything on the 120V side, or working near it while unsure, is not a place to learn.
Pressurized boilers
Reseating a group O-ring is one thing. Cracking open a heated boiler, dealing with pressure-relief valves, or brazing a fitting belongs on a professional bench with proper testing afterward.
Control boards and electronics
If the diagnosis lands on the PCB, a firmware fault, or the pump electronics, stop. Board-level work needs the schematics and the tester, and a wrong move can take out a $150 module. Manufacturers like Breville and Gaggia also keep warranty terms that a bad DIY attempt will void.
A simple decision flow before you pick up a screwdriver
Before any repair, I run the same three questions in my head. They’ll save you from taking a machine apart for no reason.
- Is the machine leaking, or performing badly? Leaks point to seals; bad shots point to screens and grind.
- Can I reach the failed part without touching wiring or the pressurized boiler? If yes, it’s a fair DIY job.
- Does the part cost less than a third of a new machine? Almost always yes – which is exactly why so many “dead” machines are worth saving.
Nine times out of ten those questions land you on a $6 to $30 part and an afternoon of work. Keep a small stash of common gaskets and O-rings in a drawer, learn the three core swaps above, and stay religious about descaling. Do that and your machine will outlive two or three of your neighbors’. When you hit the boiler, the board, or the mains, that’s my cue – and it should be yours too.
Every hands-on guide in this section, in one place:
- How to Replace a Group Head Gasket at Home
- How to Replace an Espresso Shower Screen
- Replacing O-Rings and Seals in Your Machine
- How to Replace a Vibration Pump
- How to Replace an Espresso Solenoid Valve
- Replacing a Thermoblock in a Home Machine
- How to Replace a Boiler in an Espresso Machine
- How to Replace a Pressurestat on Your Machine
- Adjusting the OPV for Correct Brew Pressure
- How to Replace a Steam Valve on Your Machine
- How to Replace a Brew Switch or Button
- How to Fix a Water Tank Valve That Leaks
- How to Replace a Portafilter Handle
- Fixing a Faulty Drip Tray Full Sensor
Frequently asked questions
Start by asking whether it leaks or just makes bad coffee. Leaks and pressure issues are almost always a gasket, O-ring, or shower screen costing $6 to $30, and those are the bulk of repairs. A truly dead machine with no power might just be a $9 thermal fuse. Boiler and control-board failures are the rare exceptions where replacement can make sense.
A torx bit set (T10/T15/T20), a few hex keys, a pin spanner or nut driver for the shower screen, needle-nose pliers, and a $20 multimeter cover the vast majority of jobs. Add food-safe silicone grease for reseating seals. Buy a proper bit set first, because a too-small driver strips screw heads and turns an easy repair into a hard one.
On typical city water, every 2 to 3 months. On hard or well water, make it monthly. Scale is the leading cause of expensive heating-element and boiler failures, and a $10 bottle of descaler prevents a repair that can run well over $100 in parts alone.
Often, yes. A hardened gasket lets water spray past the portafilter rim and lets the handle creep past the normal locking position. Swapping it restores the seal so full pressure builds against the puck again. It's a sub-$14 part and one of the easiest jobs on the machine.
Any time the repair involves live mains wiring, a pressurized or heated boiler, or the control board. Testing a fuse with a multimeter is fine, but rewiring, cracking a pressure vessel, or diagnosing electronics needs proper tools and can void warranties or cause injury. If the fix isn't a reachable gasket, seal, screen, or basket, it's usually pro territory.
For gaskets, O-rings, shower screens, and baskets, quality third-party parts are usually fine and cheaper, as long as you match the exact diameter and thickness. For anything electrical or a boiler component, stick with OEM parts to keep tolerances and safety ratings correct. Always confirm the part number against your specific model before buying.