Key takeaways
- Consumer machines often run 12-15 bars at the group; 9 bars gives cleaner, less bitter shots.
- You need a blind portafilter fitted with a bar gauge ($25-$45) to read actual brew pressure, not the boiler.
- Loosen the OPV lock nut, then turn the adjuster in tiny 1/8-turn steps, re-testing after each.
- Always test against a full 18-gram puck, not a blank basket, or your reading will run high.
- Depressurize and unplug before you touch anything; the OPV sits on a live pressurized line.
A machine came onto my bench last spring, a Gaggia Classic Pro, with a note taped to it: “shots taste burnt no matter what I do.” The owner had swapped grinders, changed beans twice, even bought a new tamper. None of it mattered, because the machine was hammering the coffee at just under 14 bars.
That is the dirty secret of most sub-$700 espresso machines. The over-pressure valve is set at the factory to a number that looks impressive on a box and does almost nothing good in the cup.
Bring it down to 9 bars and the same beans, same grind, taste like a different roast. Cleaner, sweeter, with the harsh edges sanded off.
Why the factory setting fights you
The OPV, or over-pressure valve, is a spring-loaded relief valve sitting on the pump line. When water pressure climbs past its set point, it dumps the excess back to the tank instead of forcing it through your coffee.
Vibration pumps like the ULKA EP5 found in Gaggia, Breville, and many De’Longhi machines can push well past 15 bars unrestricted. The OPV is the only thing standing between that pump and your puck.
The trouble is the factory spring is usually tensioned for 12 to 15 bars. At that pressure, water carves channels through the coffee bed and drags out bitter, astringent compounds. The traditional target, and the one the Specialty Coffee Association references for classic extraction, sits right around 9 bars at the group.
Boiler pressure and brew pressure are two different numbers. The gauge on the front of many machines reads boiler steam pressure, which tells you nothing about what the pump is doing to your coffee. You have to measure at the group.
What you need on the bench
You cannot dial in what you cannot see, so a gauge is non-negotiable. The rest is basic hand tools.
- A blind portafilter fitted with a brew-pressure gauge, or a standalone gauge kit ($25-$45 online)
- A set of Phillips and Torx bits to open the case (usually T20 on Gaggia)
- A 10mm and 13mm open-end wrench for the OPV lock nut
- A flathead screwdriver for the adjuster screw on some models
- A fresh dose of coffee, 18 grams, ground and tamped as you normally would
The gauge is the part people try to skip. Do not. Guessing by taste alone means you will chase your tail for a week and never land on a repeatable number.
Unplug the machine and let it cool completely before opening the case. The OPV sits on a pressurized line fed by a boiler that runs at 200 to 250 degrees Fahrenheit. Pull a shot to relieve line pressure, switch it off, and give it 20 minutes before your wrench goes anywhere near it.
Read your baseline first
Before you touch a single screw, find out what your machine is actually doing. Skipping this step is how people over-correct and end up at 6 bars wondering why their shots gush.
Test against a real puck, not a blank
Here is a mistake I see constantly. People screw the gauge into a blind basket, run the pump, and read whatever number shows up. That reading is almost always high, because a solid blind basket offers different resistance than wet coffee.
Load 18 grams into your normal basket, tamp it, and thread the gauge inline if your kit allows it. If you only have a blind-basket gauge, know that your true brew pressure against coffee will sit slightly below what the blind reads.
Run the pump for a full 10 seconds and watch where the needle settles. On that burnt-shot Gaggia, it parked at 13.8 bars. That was my starting point.
Measure twice, turn once. Every eighth of a turn on the OPV moves pressure more than you expect.
Making the adjustment
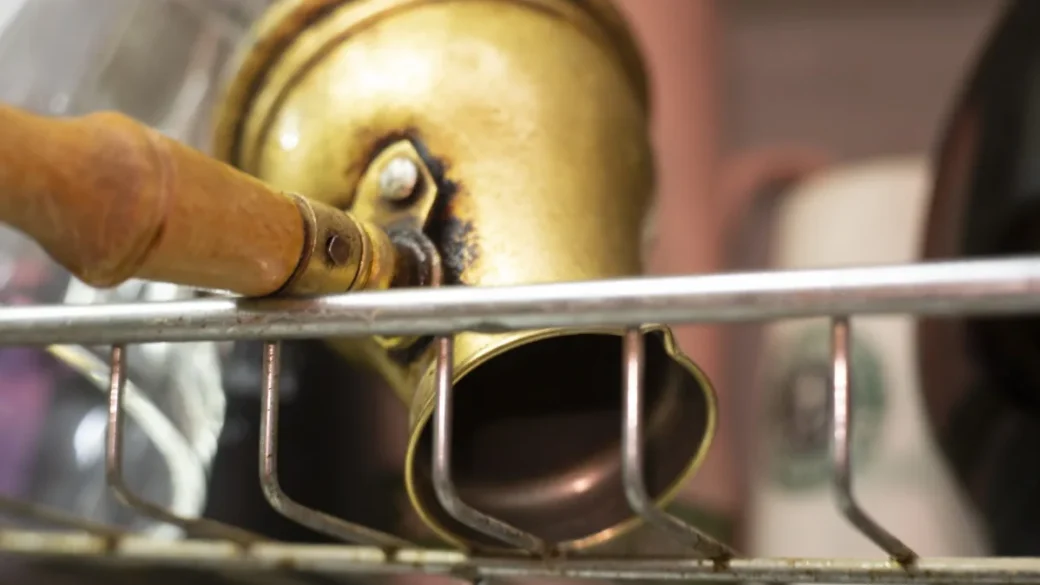
With the case open and the machine cool, find the OPV. On a Gaggia Classic it is a brass valve near the pump with a spring inside a housing; on many Breville units it is integrated and less accessible, which is worth knowing before you buy your machine.
Loosen, then nudge
Most OPVs have a lock nut and an adjuster. Back off the lock nut with your 13mm wrench, maybe a quarter turn, just enough to free the adjuster.
To lower pressure, you are releasing spring tension. That usually means turning the adjuster counterclockwise. Go one eighth of a turn, no more.
Snug the lock nut back down, plug in, and re-test against your puck. Write the number down. Repeat in small steps until the needle sits at 9 bars during the flat part of the extraction.
The needle jumps around during the first two seconds as the pump primes and the puck saturates. Ignore that spike. The number that matters is where it holds steady once water is flowing through the coffee, usually seconds 5 through 10.
On the Gaggia, it took three passes to go from 13.8 down to a rock-steady 9.1 bars. Total time, maybe 25 minutes including the cool-down waits between tests.
Check the whole system while you are in there
An open case is a rare thing, so use the moment. Pressure problems and leaks often travel together, and a tired seal upstream can throw your readings off.
Look at the group. If your shots have been channeling, a worn portafilter seal is a common culprit, and swapping the group head gasket at home is a 15-minute job while everything is apart.
While the group is exposed, a clogged screen ruins even flow, so it is a good time to replace the shower screen if yours is scaled or pitted. And if you spotted any weeping at the fittings during your pressure tests, refreshing the o-rings and seals now saves you a second teardown later.
| Brew pressure | What you taste | Common cause |
|---|---|---|
| 12-15 bars | Bitter, harsh, hollow | Factory OPV setting untouched |
| 9-10 bars | Balanced, sweet, clean | Correctly dialed OPV |
| 6-7 bars | Weak, sour, fast pour | Over-adjusted, or grind too coarse |
If you have never had the case open before, the full espresso machine repair walkthrough maps out where every part lives on the common consumer models, which makes the OPV easier to find the first time.
Living with your new number
Once you settle at 9 bars, your old grind setting will feel wrong, and that is expected. Lower pressure means water meets less mechanical force, so you will likely grind a touch finer or tamp a hair firmer to hit the same shot time.
Give it a week. Pull the same coffee daily and let your palate recalibrate before you decide whether 9 bars suits you.
Some people, once they have a gauge in hand, keep going and land at 8.5 bars for lighter roasts. That is the real payoff here. You stop guessing and start controlling the one variable that quietly shaped every cup you ever pulled. The espresso itself, as any decent reference on how espresso is brewed will tell you, is defined by that pressurized extraction, so owning that number changes everything downstream of it.
Frequently asked questions
You need the gauge. Taste tells you a shot is off but not by how much, so adjusting blind means you will overshoot and undershoot for days. A blind-basket gauge kit runs $25 to $45 and pays for itself the first afternoon by turning guesswork into a repeatable number.
A solid blind basket resists water differently than a wet, tamped bed of coffee, so it usually reads higher than your true brew pressure. If you set 9 bars against a blind basket, your actual shots may run closer to 7 or 8. Test with a real 18-gram dose to know what the coffee actually feels.
Lowering pressure means reducing spring tension, which on most valves is a counterclockwise turn of the adjuster. Loosen the lock nut first, move in eighth-turn steps, then re-tighten and re-test each time. Small moves matter because the valve is sensitive.
Almost certainly, yes. With less pressure forcing water through, you generally need to grind slightly finer or tamp a little firmer to keep your shot time in the 25 to 30 second range. Expect to spend a few days re-dialing your grinder after the adjustment.
It is safe if you respect the heat and pressure. Pull a shot to relieve line pressure, switch off, unplug, and wait 20 minutes for the boiler to cool before opening the case. The valve sits on a live pressurized line, so never adjust it while the machine is powered or hot.
Many can, including the Gaggia Classic and various prosumer models with an accessible brass OPV. Some machines, particularly certain Breville and De'Longhi units, use integrated or sealed valves that are harder or impractical to reach. Check where the OPV sits on your specific model before buying tools.