Key takeaways
- A thermoblock that trips the thermal fuse or leaks under the base is almost always scaled shut or cracked from a freeze-and-boil cycle - not a wiring fault.
- Descale before you condemn the block: a $12 citric acid soak clears most partial blockages and can save you a $60-$90 part.
- Photograph every wire and hose before disconnecting, and label the two spade terminals - the thermal fuse and heater legs are easy to swap by mistake.
- Torque the water fittings to hand-tight plus a quarter turn (roughly 4-5 Nm on brass) and re-seat fresh O-rings, or you'll chase a slow drip for weeks.
- Run three blank shots and a full steam cycle before reassembling the shell, so you catch a weep while the joints are still exposed.
A thermoblock doesn’t usually announce its death. It just gets weaker – shots come out cooler, the steam sputters, and then one morning the machine clicks on, hums for four seconds, and goes stone dead.
That’s the thermal fuse cutting power because the block overheated behind a wall of scale. I’ve pulled dozens of these out of Breville, De’Longhi, and Gaggia machines over the years, and the failure mode is almost always the same.
Get the extraction right and you’re back in business for the price of a part. Rush it and you’ll crack a plastic hose barb or strip a soft brass thread – and then you really do need a new machine.
How to tell the thermoblock is actually the problem
Before you order anything, rule out the cheap stuff. A rundown of common espresso machine parts and failures is worth a read first, because a dead machine has a dozen possible causes.
A thermoblock is a metal casting – usually aluminum with a nickel-plated water channel cast through it – that flash-heats water on demand instead of storing it in a boiler. You can read the basics of how these differ from boiler machines on the espresso machine overview, but here’s what matters for diagnosis.
The three symptoms I look for
- Machine powers on but the pump runs and no water reaches the group – a full internal blockage from scale.
- Water comes through lukewarm even after a five-minute warm-up – the heater element or its bond to the casting has degraded.
- A puddle appears under the base, not the drip tray – a hairline crack in the casting, common after the block has been through a freeze or a runaway boil-dry.
Grab a multimeter. With the machine unplugged, probe across the heater terminals – a healthy element on a 1200-1400W thermoblock reads somewhere around 40-48 ohms on a 120V unit. An open circuit (OL) means the element or the inline thermal fuse has failed.
Many thermoblocks have a one-shot thermal fuse clipped to the casting that blows around 216 degrees C. Sometimes only the fuse is dead and the block is fine. It’s a $3 part – check it before you condemn the whole unit.
If the block is only partially scaled, don’t replace it yet. A hot soak with citric acid – 30 grams in a liter of water, run through and left to sit 20 minutes – clears most partial blockages. That $12 bag of citric acid saves the $60-$90 part more often than you’d think.
Descale before you condemn. Half the “dead” thermoblocks I’m handed are just choked, not broken.

What you’ll need on the bench
None of this is exotic. Most of it lives in a basic repair drawer already.
- The correct replacement thermoblock for your exact model – match the wattage, voltage, and fitting layout, not just the brand.
- Torx security bits (T10, T15, T20 with the center pin) – Breville loves these.
- Nut drivers or a small socket set for the brass hose fittings.
- Fresh silicone O-rings and hose clamps – never reuse the old ones.
- Food-grade silicone grease, a multimeter, and a phone for reference photos.
- A shallow tray – the block and hoses hold 60-80ml of water that will run out the moment you disconnect them.
Unplug the machine and leave it overnight, or at least two hours, before you open it. Thermoblocks hold heat, and the capacitor in some pump circuits can hold a charge. Never work on one that’s been powered in the last hour.
Extracting the old unit without breaking anything
This is where patience pays. The block itself is tough, but everything attached to it – plastic barbs, silicone hose, thin spade terminals – is not.
Start by shooting photos from three angles. You want a clear record of which hose goes where and which spade terminal sits on which lug. I’ve watched people reassemble with the inlet and outlet swapped, and the machine simply won’t prime.
Freeing the electrical side
Pull the spade connectors straight off – grip the connector, not the wire. If they’re stiff, a gentle rock while pulling works better than yanking. Label the two heater legs and the thermal-fuse lead with masking tape if they aren’t color-coded.
Freeing the water side
Loosen the hose clamps and ease the silicone lines off the barbs with a slow twist. Cold, stiff hose tears; if it won’t budge, a hair dryer for 30 seconds makes it pliable. On brass compression fittings, hold the block fitting steady with one wrench while you turn the nut with another so you don’t twist the casting.
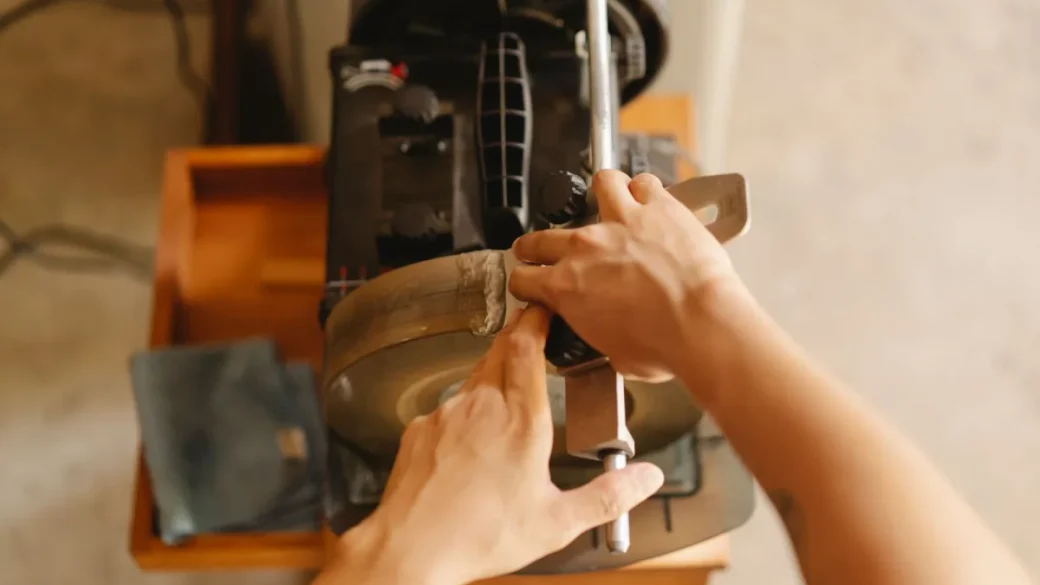
The block is usually held by two or three screws into a bracket or the base pan. Back those out, note any ground strap bolted to the casting, and lift it free. Tip it over the tray – there’s always a little water hiding in the channel.
Lay the old and new blocks side by side before you disconnect a single wire. Confirm the barb spacing, terminal positions, and mounting holes match. A “compatible” part that’s mirror-imaged will cost you an hour of re-routing hose.
Fitting the replacement so it doesn’t leak
Reassembly is the reverse, but two details decide whether you get a dry machine or a slow weep behind the panel.
First, every O-ring gets replaced and lightly greased with food-grade silicone. A dry or nicked O-ring is the number one cause of a post-repair drip. If you’re already comfortable with swapping O-rings and seals, this is the same discipline applied to bigger fittings.
Second, don’t gorilla the brass. Hand-tight plus a quarter turn – call it 4-5 Nm – seats the O-ring without deforming it. Over-torque and you either crack the casting boss or crush the ring flat, and a crushed ring leaks worse than a loose one.
Silicone hose barbs seal on interference, not thread. Push the hose fully home past the ridge, then position the clamp behind the barb ridge – not on top of it. A clamp sitting on the ridge does nothing.
Re-seat the spade terminals firmly until they click, and reattach any ground strap you removed. Loose spade connectors arc, heat up, and eventually melt the terminal – I’ve seen browned, half-melted lugs that started as a connector someone left half-seated.
Testing before you close it up
Do not screw the shell back on yet. This is the moment to catch a leak while you can still see the joints.
Fill the tank, plug in, and run water through without the portafilter locked in. Watch every fitting on the new block for 30 seconds. Then run three back-to-back blank shots and a full 20-second steam cycle to bring the block up to full pressure and temperature – leaks that hide when cold often show up once the water hits 90-plus degrees.
During this open test the machine is live with the shell off. Keep hands clear of terminals and the heater, and route water away from the electronics. If you see a drip near wiring, kill the power at the outlet before you reach in.
Check your shot temperature with a cheap thermocouple or by pulling into a pre-warmed cup and reading it fast – you want water hitting the puck around 92-96 degrees C. If it’s climbing there and holding, the new block is doing its job.
Only when everything’s dry through a full hot cycle do the shell screws go back in. While the machine’s open, it’s a sensible time to check the group head gasket and shower screen – both are cheap, both wear out, and you’ve already done the hard part of getting inside.
Keeping the new block alive
A thermoblock replacement is a two-hour job that usually only needs doing once – if you treat the new one better than the old one got treated.
Scale is the killer. In hard-water areas the internal channel narrows a little with every shot, and I’ve seen blocks choke shut inside 18 months on unfiltered tap water. Descale on schedule – monthly in hard water, every three months in soft – and use filtered water. The Specialty Coffee Association has solid water-quality standards worth following if you want to keep any machine healthy.
The other killer is running dry. If the pump ever runs without water – an empty tank, an un-primed line after a repair – the block can boil-dry, overheat, and crack. Always prime a fresh install with water flowing before you let it heat.
Do those two things and the $75 part you just fitted will outlast the rest of the machine. Neglect them and you’ll be back on this same bench in a year, doing it all again.
Frequently asked questions
If the machine is a mid-range Breville, Gaggia, or De'Longhi worth $200 or more, a $60-$90 thermoblock and two hours of work is well worth it. On a sub-$100 entry machine the part can cost nearly as much as a replacement unit, so the math rarely favors repair. Check the part price for your exact model first.
A partial blockage often clears with a hot citric acid or descaling soak - 30 grams of citric acid per liter, run through and left 20 minutes. If water still won't pass after two or three soaks, the channel is either fully calcified or the casting is cracked, and at that point replacement is the only fix.
Probe across the heater terminals with a multimeter. If you read an open circuit but the heater element itself measures a sensible resistance when isolated, the one-shot thermal fuse clipped to the casting has blown. That fuse is a $3 part and worth checking before condemning the whole $75 block.
Almost always a reused or dry O-ring, an over-tightened fitting that crushed the seal, or a hose clamp sitting on the barb ridge instead of behind it. Replace every O-ring with a fresh greased one, torque brass fittings to hand-tight plus a quarter turn, and re-seat the clamps. Test hot before closing the shell.
Water hitting the coffee puck should sit around 92-96 degrees C once the block is fully warmed. Pull into a pre-warmed cup and read it quickly, or use a thermocouple. If it's stuck lukewarm, the element or its bond to the casting is faulty and the block may be defective out of the box.
On filtered water with regular descaling, a thermoblock commonly lasts five to eight years or the life of the machine. On unfiltered hard water with no descaling, I've seen them choke shut in under two years. Water quality and never running the pump dry are the two things that decide it.