Key takeaways
- A slow pressure ramp (0 to 9 bar over 8-10 seconds) tames channeling and softens acidity on light roasts.
- A declining curve, dropping from 9 bar to around 5-6 bar mid-shot, pulls sweetness forward and cuts harsh bitterness on darker roasts.
- You do not need a $3,000 machine. A spring lever or a manual paddle group gets you 80% of the way for a fraction of the cost.
- Change one variable at a time and log every shot, or you'll never know which knob moved the flavor.
- Fix your grind and distribution first. Profiling a badly prepped puck just spreads the mess around.
The first time someone handed me a shot pulled on a declining pressure curve, I was standing in a customer’s kitchen in the middle of a warranty call. Same beans I’d been drinking all week, same grinder. The cup tasted like it had gained ten IQ points overnight.
That customer had a spring lever machine, and the physics of that spring were doing something my pump-driven machine at home simply couldn’t. It sent me down a rabbit hole that reshaped how I think about espresso.
So let’s talk about what actually happens inside the puck when you stop treating pressure as a fixed 9 bar and start treating it as a curve you can shape.
What pressure profiling actually means
For decades, “good espresso” meant 9 bar, full stop. That number comes from mid-century Italian pump design, not from some deep truth about coffee. It was simply what the machines did.
Pressure profiling means changing the water pressure hitting your coffee puck during the shot instead of holding it flat. You might start low and ramp up. You might peak early and let it decline. Both moves change extraction in ways a flat 9 bar never can.
If the mechanics of the machine itself are new to you, the overview of espresso machine designs on Wikipedia is a decent primer on where that 9 bar figure came from in the first place.
Bar is a unit of pressure. One bar is roughly the pressure of Earth’s atmosphere at sea level. Nine bar is about nine times that, or roughly 130 PSI, pushing through a coffee bed about the thickness of two stacked poker chips.
The pre-infusion ramp, and why it matters
The most useful profiling move for a beginner is the slowest one: the ramp at the start.
Instead of slamming the puck with 9 bar the instant you hit the switch, you bring pressure up gently. On my setup I ramp from near zero to full pressure over about 8 to 10 seconds. The water saturates the grounds evenly before real extraction kicks off.
Why does this help? A dry puck under sudden high pressure is fragile. Water is lazy and finds the path of least resistance, carving channels straight through weak spots. Those channels are the number one cause of a shot that tastes both sour and bitter at the same time.
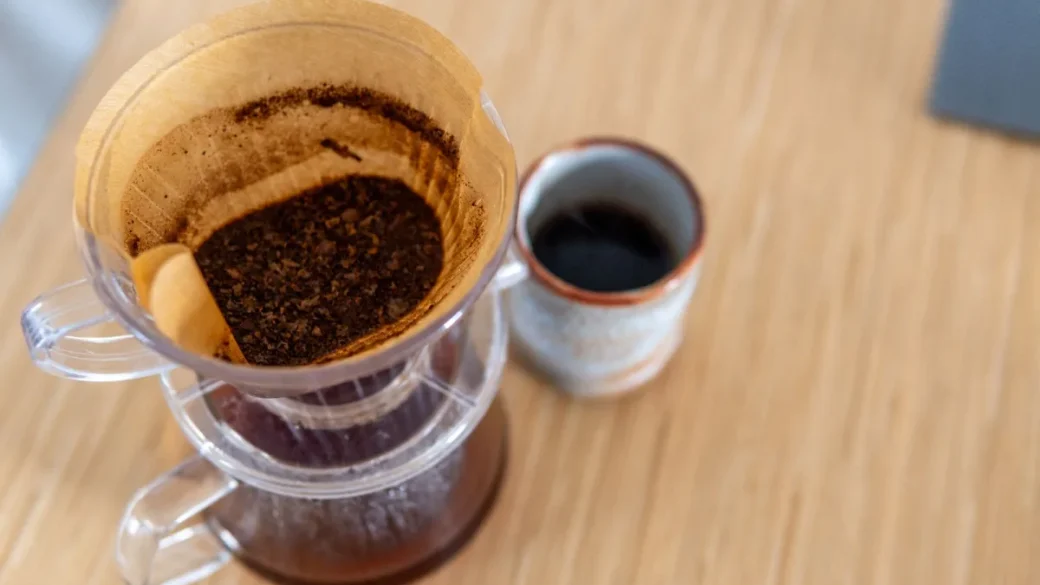
A gentle ramp lets the bed swell and settle first. By the time you’re at full pressure, the puck is a uniform, resistant plug instead of a minefield. This alone fixed more sour-shot complaints than any grinder swap I’ve ever recommended.
If your shots taste sharp and underdeveloped, a ramp is worth trying before you touch anything else. It pairs well with the fixes in our breakdown of what causes sour espresso and how to correct it.
On a machine with a manual paddle, you can fake a ramp for free. Crack the paddle halfway for 5 to 8 seconds to let water trickle in, watch for the first dark drips forming under the basket, then open it fully. No firmware, no upgrade.
Declining curves: where the flavor magic lives
Here’s the move that rebuilt my palate in that customer’s kitchen.
A declining curve peaks early, often around 9 bar, then drops steadily as the shot runs. You might finish at 5 or even 4 bar. This is the natural behavior of a spring lever machine, and it’s no accident that lever pulls have a cult following.
The reasoning is about flow. Early in a shot you’re extracting acids and the bright, sweet compounds. Late in the shot you start pulling harsh, dry, astringent stuff. By reducing pressure as the shot progresses, you slow the flow at exactly the moment those bitter compounds want to come out.
High pressure to start, low pressure to finish. Grab the sweetness, then ease off before the bitterness arrives.
On a medium-dark roast, a declining curve is the difference between a shot that finishes with a clean cocoa note and one that dries your tongue out. If over-extraction is your usual enemy, this technique complements the flow-based fixes in our guide to taming bitter, over-extracted espresso.
Ramping up for light roasts
The opposite move has its place too. Some baristas ramp pressure up through the middle of the shot to push extraction on dense, lightly roasted beans that resist giving up their flavor.
Light roasts are stubborn. A rising or sustained-high profile can coax out the fruit and florals that a gentle pull would leave locked in the bean.
What you actually need at home
You do not need to remortgage the house. Here’s the honest cost ladder I give people who ask.
| Approach | Rough cost (USD) | What you get |
|---|---|---|
| Manual paddle fake-ramp | Gear you likely own | Basic pre-infusion control, no declining curve |
| Spring lever machine (used) | $400 to $900 | A built-in declining curve, mechanically, forever |
| Manual lever (Flair 58, La Pavoni) | $150 to $600 | Full hand control of the entire curve |
| Programmable pump machine | $1,500+ | Repeatable, savable digital profiles |
For most home users I steer them toward a manual lever like the Flair 58, which runs around $500. You push the lever yourself, so the pressure curve is literally in your hands. It’s the cheapest way to feel what a declining curve does.
The higher-end prosumer machines from brands like Breville and Gaggia have brought basic pre-infusion to sub-$800 territory, which was unthinkable a decade ago.
If you buy a used lever machine, have someone qualified inspect the boiler and the group seals before you trust it. These run at high internal pressure and temperature. A perished seal on a spring lever can let go with real force. Budget $60 to $120 for a gasket and seal service on anything over five years old.
How to start profiling without wasting a bag of beans
Profiling only works if your fundamentals are solid. A gorgeous curve on a badly prepped puck just spreads the failure around evenly.
Nail your grind and distribution first. Our walkthrough on getting espresso grind size right is the foundation everything else sits on, and the broader mechanics live in how to pull the perfect espresso shot.
Once that’s dialed, here’s my starter routine:
- Pull one baseline shot at flat pressure. Taste it. Write down the time and weight.
- Add a slow ramp: near zero to full pressure over 8 to 10 seconds. Nothing else changes.
- Taste again. Sharper acidity should soften; muddiness should clear up.
- Now try a declining finish, easing pressure down in the back half of the shot.
- Change ONE variable per shot. Log grind, dose, yield, time, and a one-line taste note.
Keep the log even when it feels tedious. Three weeks of notes will teach you more than any video. The Specialty Coffee Association has good background reading if you want the science behind why these small changes register so strongly on the palate.
Roughly 25 to 40 seconds is a normal total shot time. Profiling stretches that. A slow ramp plus a gentle decline can push a shot to 45 seconds without over-extracting, because low late-stage pressure keeps flow slow and controlled.
Where to point your curiosity next
Pressure profiling is not a party trick, and it won’t rescue stale beans or a $40 blade grinder. What it does is give you a second dimension to work in once grind, dose, and temperature are already dialed.
Start with the ramp. It’s free on most machines, it forgives sloppy pucks, and it teaches your palate what “smoother” tastes like. Once that clicks, a declining curve on a lever machine is the natural next step, and it’s the one that made me a believer standing in someone else’s kitchen years ago.
Pull a few dozen shots, keep your notes honest, and trust your tongue over any number on a gauge. The gauge measures pressure. Only you can taste what it’s doing.
Frequently asked questions
No. If your machine has a manual paddle or a pre-infusion setting, you can practice a slow ramp for free today. For a full declining curve, a manual lever like the Flair 58 (around $500) or a used spring lever machine ($400 to $900) is the cheapest real entry point. Programmable digital profiles are nice but not necessary to learn the concept.
Pre-infusion is one specific move: gently wetting the puck at low pressure before the main shot. Pressure profiling is the bigger idea of shaping pressure across the whole shot, which includes pre-infusion but also mid-shot ramps and declining finishes. Think of pre-infusion as the opening act and profiling as the whole performance.
Light roasts are dense and stubborn, so a sustained-high or slightly rising profile helps coax out their fruit and acidity. Darker, medium-dark roasts benefit from a declining curve that peaks early and eases off, which grabs sweetness and backs away before harsh bitterness develops. Start there and adjust to your own taste.
It helps, but it is not a cure for bad fundamentals. A slow ramp reduces channeling, which is a common cause of sourness, and a declining curve tames late-shot bitterness. If your grind, dose, or distribution is off, fix those first. Profiling refines a good shot; it cannot save a broken one.
A flat 9-bar shot usually runs 25 to 40 seconds. Adding a slow ramp and a gentle decline can stretch that to 45 seconds without over-extracting, because the lower late-stage pressure keeps flow slow and controlled. Judge by taste and yield, not by the clock alone.
There is a learning curve of maybe a week or two of daily shots. Your first pulls will be inconsistent because your arm is now the pump. But that hands-on feedback is exactly why levers teach profiling faster than any digital machine. Once your muscle memory settles, the consistency comes.