Key takeaways
- Swap the panarello steam wand for a Rancilio Silvia wand (~$25) first - it's the single biggest jump in milk texture per dollar.
- A bottomless portafilter (~$30) exposes channeling and forces better puck prep before you spend on anything else.
- A PID kit ($80–$150) is the only mod that fixes the Classic's biggest weakness - temperature that drifts 15-20°F between shots.
- Regasket and reseal before upgrading anything; a $6 group gasket often fixes what people mistake for a hardware problem.
- Skip pressure-profiling springs and fancy baskets until the wand, portafilter, and PID are done - that's the order of payoff.
I keep a shoebox on my bench labeled “Gaggia” and it’s mostly the same three parts over and over: a cracked panarello sleeve, a worn group gasket, and a steam tip clogged solid with milk stone. That box tells you almost everything about where these machines are weak from the factory.
The Classic is a genuinely good little single-boiler machine. It’s also a machine that ships with a couple of parts chosen for the price tag, not for the cup.
So when someone asks me what to buy, I don’t hand them a wishlist. I rank it by payoff – what changes the coffee or the steam the most for the least money and the least fuss on the bench.
1. The Rancilio Silvia steam wand – the swap I recommend first
The stock panarello wand froths by sucking air through a plastic sleeve. It makes bubbly, stiff foam that collapses. For pouring anything that looks intentional, it fights you the whole way.
The fix is almost a bolt-on. A genuine Rancilio Silvia wand runs about $25–$35 and threads onto the same ball joint on most Classic generations. You lose the training-wheel sleeve and get a bare two-hole tip you actually steer.
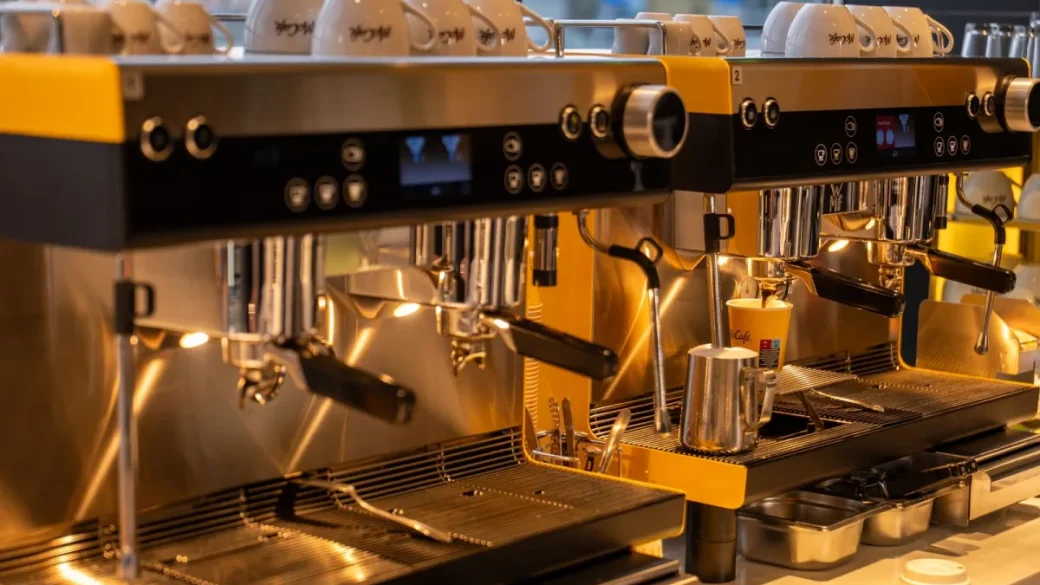
The first time you texture a jug with the Silvia wand you’ll overshoot and split the milk, because now the air is your job. Give it three or four pitchers. Once it clicks, you’re pouring latte art on a $400 machine.
Buy the Silvia V3/V4 wand, not a no-name copy. The knock-offs use a slightly different ball radius and weep steam at the joint no matter how you tighten them. The genuine part seats clean with a fresh O-ring.
2. A bottomless portafilter – the cheapest diagnostic you’ll ever own
A bottomless (naked) portafilter for the Classic’s 58mm group costs around $25–$40. People buy it for the pretty gushing-espresso shots. What it actually does is show you every mistake in your puck prep.
Channeling – where water blasts through one weak spot – is invisible behind a spouted portafilter. Go bottomless and you’ll see it instantly: a spray jet firing off to one side while the rest dribbles.
You can’t fix a fault you can’t see. A bottomless portafilter turns your worst shots into a diagnosis.
Pair it with a decent basket. The stock double is fine, but an 18g precision basket (IMS or VST, roughly $25) has straighter walls and cleaner perforations, which makes the bottomless view honest.
3. A PID controller – the mod that fixes the Classic’s real weakness
Here’s the thing the marketing never tells you. The Classic holds brew temperature with a mechanical thermostat that swings roughly 15–20°F around your target. Pull two shots back to back and they can taste like two different coffees.
A PID kit replaces that guesswork with a controller that holds the boiler within a degree or two. Kits like the MeCoffee, Gaggiuino, or a boxed Auber setup run $80–$150 depending on how much you want to solder.
Temperature stability is what separates espresso that’s merely hot from espresso that’s dialed. If you want to understand why a couple of degrees moves the cup so much, the Specialty Coffee Association has good background on brew-temperature standards.
A PID install means opening a machine that runs on mains voltage and a boiler that reaches 250°F+. Unplug it, let it cool fully, and discharge nothing you’re unsure about. If wiring a thermocouple to a live boiler makes you nervous, that instinct is correct – have someone competent check your work before you plug back in.
Is a PID worth it on a machine this cheap?
On a $50 machine, no. On a Classic you plan to keep for a decade, absolutely. The payoff is consistency – you stop chasing a moving target every morning.
4. Group gasket, shower screen, and seals – the boring parts that fix “broken” machines
Before you spend a dime on upgrades, reseal the group. This is the single most common thing I see people mistake for a bigger fault.
A hardened group head gasket ($5–$8) causes the portafilter to creep past the 6-o’clock position, leak around the edge, and lose pressure. Swapping it is a ten-minute job – our walkthrough on how to replace a group head gasket at home covers the exact steps and the little hook trick for getting the old one out.
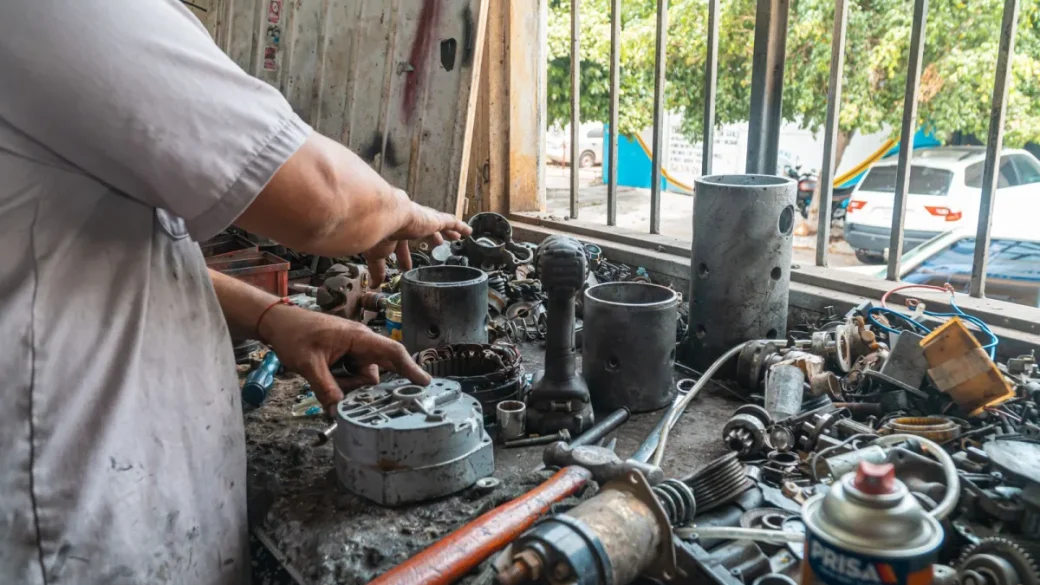
While you’re in there, do the shower screen and the seals too. These are the cheapest gaggia classic replacement parts going, and they punch above their price.
These Classic gaskets and screens are near-universal 58mm parts, so you’re not locked into Gaggia-branded pricing. A generic silicone group gasket seals just as well as the OEM rubber one and tends to outlast it.
- Group head gasket – replace every 12–18 months or when the portafilter goes past 6 o’clock
- Shower screen – see how to replace an espresso shower screen for the screw torque
- Steam and brew-path O-rings – the fix for most mystery drips, covered in replacing O-rings and seals in your machine
- Silicone steam tip O-ring – swap it when you fit the Silvia wand
5. Silicone group gasket and an IMS shower screen – small, cheap, worth it
I split these out because they’re upgrades, not just repairs. A silicone group gasket handles the heat cycling better than stock rubber and doesn’t turn to a hockey puck after two years.
An IMS competition shower screen (around $20) has far finer, more even perforations than the stamped stock plate. It spreads water across the puck more evenly, which quietly reduces channeling before the coffee even hits the basket.
Neither of these is dramatic on its own. Together with a clean bottomless portafilter, they tighten up extraction in a way you can taste in a week.
6. What I tell people to skip (for now)
Not every mod earns its money. Pressure-profiling spring kits, dimmer-based flow control, and boutique baskets get a lot of forum airtime and deliver very little until the basics are sorted.
The Classic is a 9-bar machine with an OPV you can already adjust with a screwdriver for free. Spend $60 on a spring kit before you’ve fixed your temperature swing and you’re tuning the trim while the engine misfires.
| Upgrade | Typical price | Payoff | Buy order |
|---|---|---|---|
| Rancilio Silvia steam wand | $25–$35 | Huge – real milk texture | 1st |
| Bottomless portafilter + basket | $40–$60 | High – exposes channeling | 2nd |
| PID kit | $80–$150 | High – temperature stability | 3rd |
| Gaskets, screen, seals | $15–$30 | Restores lost performance | Do first, always |
| Spring / flow-control kits | $50–$90 | Low until basics are done | Later |
Where I’d actually spend $100
If someone handed me a hundred dollars and a stock Classic, here’s the order. Reseal the group and screen first with cheap parts – call it $20. That alone fixes half the “my machine’s dying” complaints I get.
Then the Silvia wand for the steaming, roughly $30. That leaves you fifty toward a PID down the road, which is the mod that turns a good machine into one you trust every single morning.
The Classic has stayed in production for decades because it’s honest hardware you can actually work on – worth reading up on how these machines are built if you want to understand what you’re touching. If you want the wider picture on part sourcing and diagnosis across brands, our espresso machine repair guide maps out which parts fail and how to fix them. Do the boring seals, then the wand, then the PID – in that order the money always lands.
Frequently asked questions
It fits the vast majority of Classic and Classic Pro generations because they share the same ball-joint mount. The main exception is a few of the newest revisions where the ball radius changed slightly, so check your exact model year before ordering. Buy the genuine Silvia V3 or V4 wand and a fresh O-ring, and it threads on in about five minutes.
Temperature surfing (timing your shot to the boiler cycle) works and costs nothing, and plenty of people run their Classic that way for years. A PID just removes the timing game and holds the boiler within a degree or two shot after shot. If you pull one or two coffees a day it's optional; if you want repeatable results without babysitting the light, it's the upgrade with the most lasting payoff.
For gaskets, shower screens, and O-rings, generic 58mm parts are usually just as good and sometimes better, since silicone versions handle heat cycling more gracefully than the stock rubber. For anything electrical or the steam wand itself, buy the genuine part. The cost saving on a knock-off wand isn't worth the steam leak you'll be chasing afterward.
On its own it doesn't improve the coffee at all - it's a diagnostic tool. By removing the spouts you can see channeling and uneven extraction the moment they happen, which tells you whether your grind, distribution, or tamp needs work. Once you fix what it reveals, your shots get noticeably more even, but the portafilter is showing you the problem, not solving it.
Roughly every 12 to 18 months with regular use, or sooner if the portafilter starts locking in past the 6-o'clock position or leaking around the rim. A hardened gasket is the number-one cause of pressure loss and edge leaks that people mistake for a failing pump. It's a $6 part and a ten-minute job, so replace it before assuming anything worse is wrong.
A precision basket like an IMS or VST (around $25) has straighter walls and cleaner holes, which makes extraction more even and pairs well with a bottomless portafilter. That said, your grinder matters more than any basket - a stale or inconsistent grind will ruin a shot in the best basket made. Sort the grinder first, then treat the precision basket as a refinement.