Key takeaways
- A quality bit driver, a small torx set, and a seal pick handle roughly 80% of home espresso repairs - start there before buying anything fancy.
- Budget about $120 for a kit that covers most machines: drivers, nut drivers, a seal pick set, a bar-reading pressure gauge, and a multimeter.
- A portafilter pressure gauge (around $35) turns guesswork into a real diagnosis for weak or gushing shots.
- Never open a machine that is plugged in or still under pressure - depressurize and unplug before any tool touches it.
- Cheap seal picks scratch soft brass; a rounded plastic or brass pick keeps o-ring grooves clean and reusable.
The first time I opened a Gaggia Classic on my kitchen table, I did it with a butter knife and a Phillips screwdriver two sizes too big. I stripped a screw head in about ninety seconds and spent the next hour drilling it out.
That machine taught me something no manual did: the right tool isn’t a luxury, it’s the difference between a twenty-minute fix and a ruined afternoon.
Over 12 years I’ve whittled my espresso repair kit down to the pieces that actually earn their spot in the drawer. What follows is that kit, ranked by how often each item saves me – not by price, and definitely not by how impressive it looks.
The tier-one kit: what handles most home fixes
If you own nothing and want the shortest path to fixing your own machine, these four things do the heavy lifting. I’d guess they cover 80% of what walks onto my bench.
None of it is exotic. All of it is worth buying once and buying well.
1. A ratcheting bit driver with a full bit set
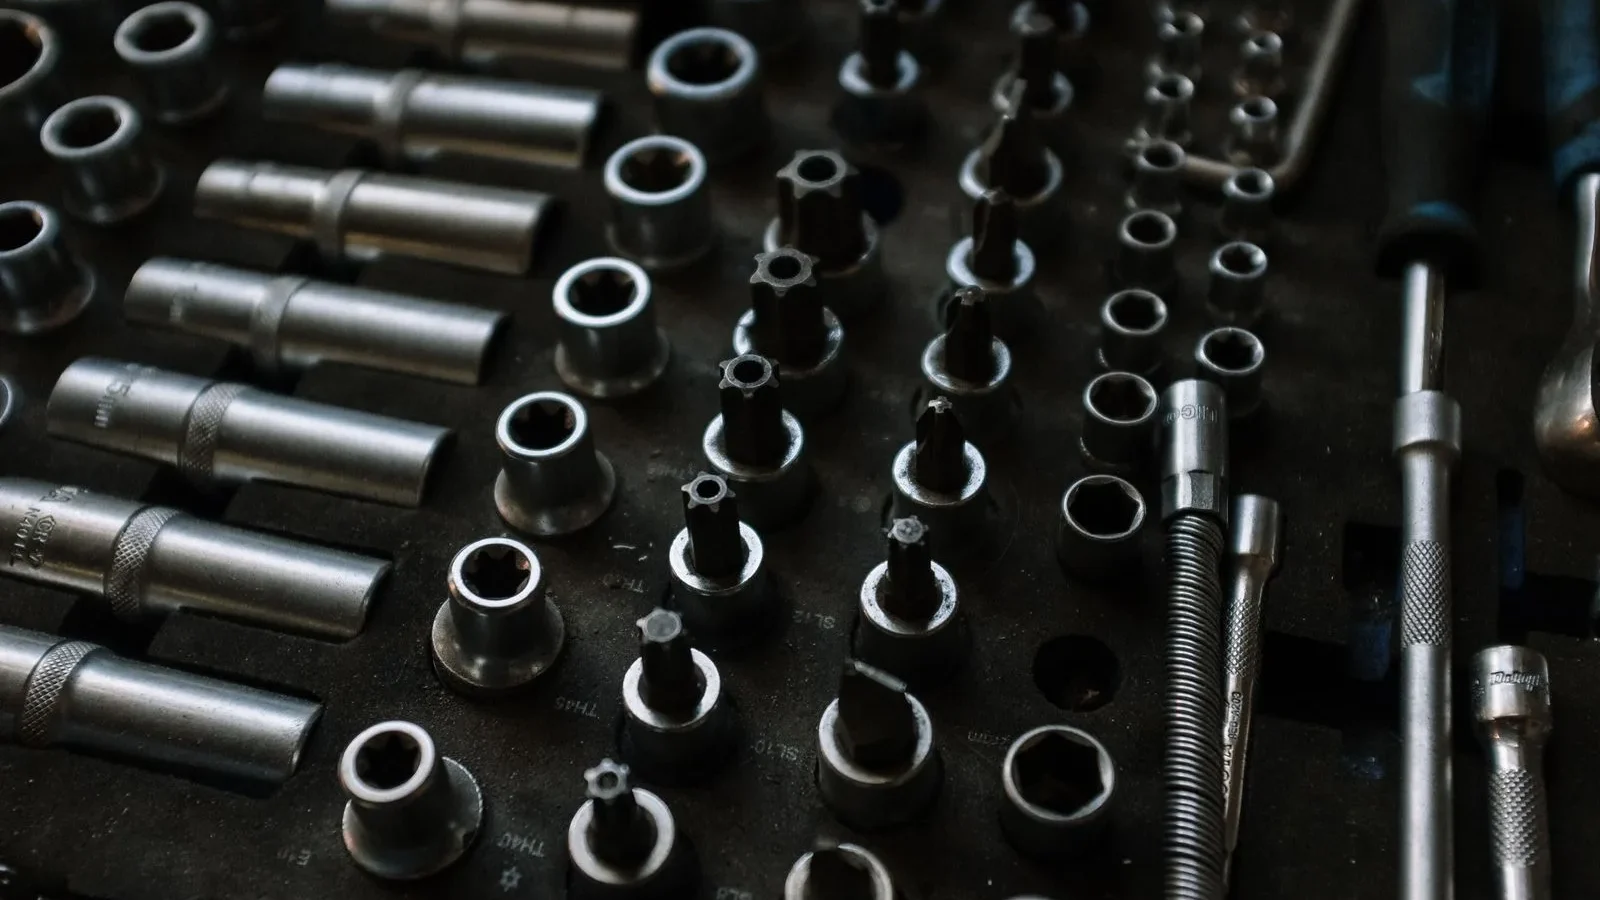
This is the single most-used tool I own. A ratcheting driver with a 40- to 60-piece bit set (Wera and Wiha make excellent ones around $30–$45) means you’re never caught out by an odd fastener.
Home espresso machines are a mess of standards. A Breville might use Torx security bits, a De’Longhi might mix Phillips and Pozidriv, and older Gaggias love a plain slotted screw right where you least expect it.
Pozidriv screws look almost identical to Phillips but have tiny extra lines between the cross. Using a Phillips bit on them is the number-one cause of stripped heads I see. If a screw fights you, check the head under good light before you crank harder.
2. A small Torx and security-bit set
Manufacturers love tamper-resistant screws – usually T10, T15, or T20 with a pin in the center. Breville in particular builds their outer shells this way.
A dedicated security Torx set runs about $12 and gets you inside machines that a standard set simply can’t touch.
3. A seal pick / o-ring pick set
Once you’re inside, half the job is pulling old rubber out of tight grooves without gouging the brass underneath. A set of picks – ideally with at least one rounded plastic or brass tip – costs around $10 and pays for itself the first time.
I use these constantly when I’m replacing o-rings and seals in a machine, and they’re just as vital when the group head gasket has fused itself into the housing after three years of heat cycles.
Never open a machine that’s plugged in or still holding pressure. Switch it off, unplug it, and let it cool. On boiler machines, open the steam valve to vent residual pressure before you remove a single screw. Hot water under pressure will find any gap you give it.
4. A 12mm and 14mm wrench (or an adjustable)
Group heads, boiler fittings, and steam valves are almost always brass hex nuts. A pair of proper open-end wrenches beats an adjustable because they won’t round off soft brass corners – but a good 6-inch adjustable ($15) is a fine start.
- Ratcheting bit driver + 40–60 piece bit set
- Security Torx set (T8 through T20 with pins)
- Seal/o-ring pick set with a rounded tip
- 12mm & 14mm open-end wrenches or a 6-inch adjustable
The diagnostic tools that end the guessing
Drivers get you inside. Gauges tell you what’s actually wrong. This is where I see home repairers waste the most time – swapping parts on a hunch instead of measuring.
Portafilter pressure gauge
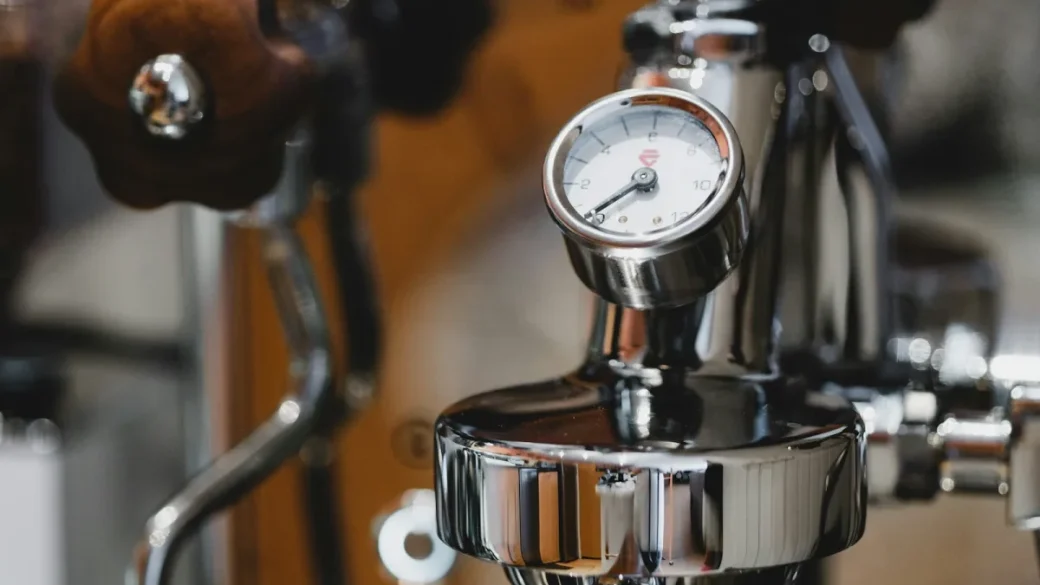
A blind portafilter fitted with a bar gauge (about $35) is the fastest diagnostic I own. You lock it in, pull a shot, and read the pump pressure directly.
A proper machine should sit near 9 bar at the group. If yours reads 4, you’ve got a failing pump, a clogged path, or an OPV that’s dumping early – and now you know which rabbit hole to go down instead of guessing.
An espresso machine is essentially a pump pushing near-boiling water through a puck of coffee at roughly nine times atmospheric pressure, as any rundown of how these machines work will confirm. If that number is off, everything downstream tastes wrong.
A basic multimeter
A $25 multimeter is non-negotiable for electrical faults. Dead machine? Check the thermal fuse for continuity. Won’t heat? Test the heating element’s resistance – an open circuit means a failed element, full stop.
Measure twice, order once. Every part you test before buying is a return you never have to make.
An instant-read thermometer
For machines without PID temperature control, a thermocouple thermometer ($20) clipped to the group lets you verify brew temperature sits in the 90–96°C window the Specialty Coffee Association considers the sweet spot for extraction. If your shots taste sour and thin, temperature is often the culprit, not the grind.
The supporting cast: small things, big time savings
These don’t earn a ranking of their own, but I reach for them on nearly every job.
- Food-grade silicone grease (~$8) – a dab on every new o-ring so it seats without tearing and comes out clean next time.
- Descaling solution or citric acid (~$10) – half my “broken pump” calls are just scale.
- Needle-nose pliers & a hemostat – for fishing springs and grabbing seals in tight boilers.
- A soft brass brush – cleans group threads without scratching.
- Nitrile gloves and a headlamp – unglamorous, and I’d fight you for them.
Silicone grease and petroleum grease are not interchangeable. Petroleum-based products swell and destroy the rubber seals used in most espresso machines. Buy the food-grade silicone version and use it on everything rubber.
What each tier actually costs
Here’s the honest math. You do not need to buy everything at once – build it as your repairs demand.
| Kit tier | What’s in it | Rough cost | Fixes it unlocks |
|---|---|---|---|
| Tier one | Bit driver, Torx set, seal picks, wrenches | $70–$90 | Gaskets, shower screens, seals, panel access |
| Diagnostic | Pressure gauge, multimeter, thermometer | $80 | Pump, element, OPV, temperature faults |
| Supporting | Grease, descaler, pliers, brush | $40 | Reassembly, scale, spring-loaded parts |
A complete bench for most home machines lands around $120 for the essentials, closer to $190 if you add every diagnostic. Compare that to one out-of-warranty service visit and it pays for itself on the second repair.
Matching tools to the job you’re about to do
Not every fix needs the whole drawer. A few of the most common home jobs and the short list they actually require:
Group head gasket
Seal pick, a flat screwdriver for leverage, and silicone grease. That’s it. If you’ve never done one, the walkthrough for replacing a group head gasket at home covers the awkward part – freeing a gasket that’s baked itself in place.
Shower screen
Usually a single central screw and a Torx or Phillips bit. Ten minutes, start to finish, once you know the trick to replacing an espresso shower screen without cross-threading the holder.
Weak or gushing shots
Portafilter pressure gauge first, every time. It tells you whether you’re chasing the pump, the OPV, or a blockage before you open anything.
Where to start if you buy nothing else this month
Buy the ratcheting bit driver and a seal pick set. Under $50 together, and they’ll get you through the two repairs home machines need most – gaskets and seals – without a single stripped screw.
Add the pressure gauge the first time a shot goes weird on you. It’s the tool that turns “I think it’s the pump” into “the pump is doing 4 bar, so yes, it’s the pump.”
Everything else you can gather one job at a time. If you want the bigger picture on what actually breaks and how the fixes fit together, the overview of espresso machine parts and fixes is the map I’d hand a friend starting out. Keep the kit small, keep it sharp, and you’ll be surprised how few problems actually need a professional.
Frequently asked questions
A ratcheting bit driver with a full bit set, around $30 to $45. It handles the wild mix of Phillips, Pozidriv, Torx, and slotted screws you'll meet across Gaggia, Breville, and De'Longhi machines. Pair it with a seal pick set and you can already tackle the two most common home repairs: gaskets and o-rings.
For basic gasket and seal swaps, no. But the moment your shots go weak, gush, or taste off, a blind portafilter with a bar gauge (about $35) tells you the actual pump pressure at the group. A healthy machine reads near 9 bar; anything far off points you straight at the pump, OPV, or a blockage instead of guessing.
You can in a pinch, but brass is soft and an adjustable's jaws can round off the hex corners if it slips. A proper 12mm and 14mm open-end wrench grips all six faces and protects the fitting. If you only own an adjustable, snug it fully onto the nut and go slow.
Always food-grade silicone grease, never petroleum-based grease. Petroleum products cause rubber o-rings and gaskets to swell and fail, sometimes within weeks. A small tube of silicone grease costs about $8 and should be dabbed on every seal you install so it seats cleanly and releases easily next time.
You can cover the tier-one essentials - driver, Torx set, seal picks, wrenches - for roughly $70 to $90. Adding diagnostic tools like a pressure gauge, multimeter, and thermometer brings a well-rounded bench to around $120, or closer to $190 fully loaded. That's typically less than a single out-of-warranty service visit.
It is, as long as you respect two rules: unplug it and depressurize it first. Switch the machine off, pull the plug, let it cool, and open the steam valve to vent any residual boiler pressure before removing screws. Hot water under pressure and mains electricity are the two real hazards, and both are eliminated by those steps.